
A French seam is a professional sewing technique that creates strong‚ neat‚ and invisible seams‚ ideal for delicate fabrics like silk and chiffon‚ ensuring a clean finish.
What is a French Seam?
A French seam is a professional sewing technique that encloses raw seam allowances within a second layer of stitching‚ creating a clean‚ invisible‚ and durable finish. It involves sewing two lines of stitches‚ first with wrong sides together and then with right sides together‚ ensuring no raw edges are visible. This method is particularly ideal for delicate‚ sheer‚ or lightweight fabrics like silk‚ chiffon‚ or voile‚ as it prevents fraying and adds strength to the seam. Unlike standard seams‚ French seams are fully enclosed‚ making them a popular choice for garments and home furnishings where a polished look is desired; The process is straightforward but requires precision to align the fabric correctly during both stitching steps. This technique is a must-know for sewists aiming to achieve a high-end‚ professional finish in their projects.
Why Use French Seams?
French seams are a highly regarded sewing technique due to their ability to create strong‚ neat‚ and professional-looking results. They are particularly beneficial for delicate or sheer fabrics‚ such as silk‚ chiffon‚ or voile‚ as they enclose raw edges‚ preventing fraying and creating a clean‚ invisible finish. This method is ideal for garments and home furnishings where a polished appearance is essential. French seams also serve as a durable alternative to serging‚ making them a versatile choice for sewists. By enclosing the seam allowance within two layers of stitching‚ French seams ensure a smooth‚ professional finish that withstands wear and tear. They are especially useful for projects requiring a high-end aesthetic‚ such as lingerie‚ curtains‚ or lightweight clothing. This technique is a must-learn for anyone aiming to elevate their sewing skills and achieve impeccable results.
Tools and Materials Needed
To sew French seams‚ you’ll need a sewing machine‚ sharp needles‚ straight pins‚ scissors‚ an iron‚ and fabric shears for precise cutting and a measuring tape for accuracy.
Fabric Requirements
French seams are ideal for delicate fabrics like silk‚ chiffon‚ and voile‚ as they prevent fraying and create a clean finish. They also work well with medium-weight fabrics such as cotton and linen‚ making them suitable for both garments and home decor projects. When choosing fabric‚ consider its texture and drape to ensure the seam lies flat and maintains the desired appearance. Lightweight fabrics benefit most from this technique‚ as it encloses raw edges‚ reducing bulk and ensuring a professional look. Avoid overly thick or bulky fabrics‚ as they may make the seam too stiff. Always pre-wash and dry your fabric before sewing to ensure shrinkage is accounted for. By selecting the right fabric‚ you can achieve a polished and durable result with French seams.
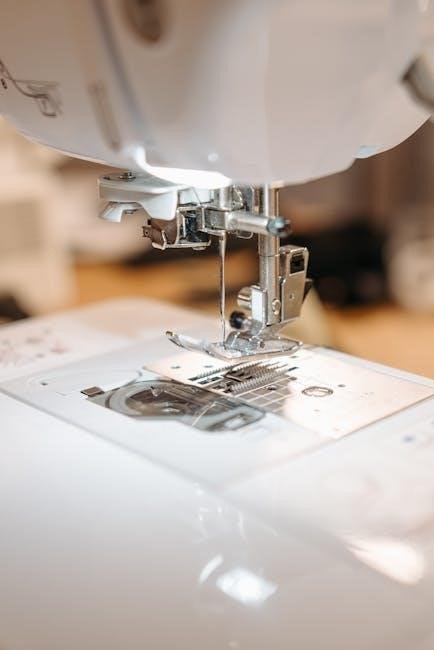
Sewing Machine Setup
Setting up your sewing machine correctly is crucial for sewing French seams. Use a straight stitch setting‚ as it provides the necessary strength and neatness. For lighter fabrics‚ consider using a smaller needle size to prevent fabric damage. Ensure your machine is threaded with a matching thread color to blend seamlessly with your fabric. Adjust the stitch length to a medium setting‚ typically around 2.5mm‚ to secure the seam effectively. If your machine has a walking foot or Teflon foot‚ attach it to help guide delicate fabrics smoothly. Proper tension is essential; keep it balanced to avoid puckering or distortion. Test your settings on scrap fabric before starting your project to ensure optimal results. A well-configured machine will help you achieve professional-looking French seams with ease and precision.
Essential Notions
To successfully sew French seams‚ you’ll need a few essential notions. Start with sharp‚ thin pins to secure fabric layers accurately; A good pair of scissors or rotary cutters is necessary for precise cutting. A seam ripper is handy for correcting mistakes without damaging fabric. An iron and ironing board are crucial for pressing seams‚ ensuring a professional finish. Use high-quality thread that matches your fabric to maintain a seamless look. A sewing gauge or seam guide can help maintain consistent seam allowances. For delicate fabrics‚ consider using a sharp‚ thin needle to prevent tearing. Lastly‚ a tailor’s ham or seam roll can assist in pressing curved seams smoothly. These tools will help you achieve clean‚ professional results when sewing French seams.
Step-by-Step Guide to Sewing a French Seam
A French seam is a professional technique involving sewing fabric with wrong sides together‚ pressing‚ then folding and sewing again to enclose raw edges for a clean finish.
First Seam: Sewing with Wrong Sides Together
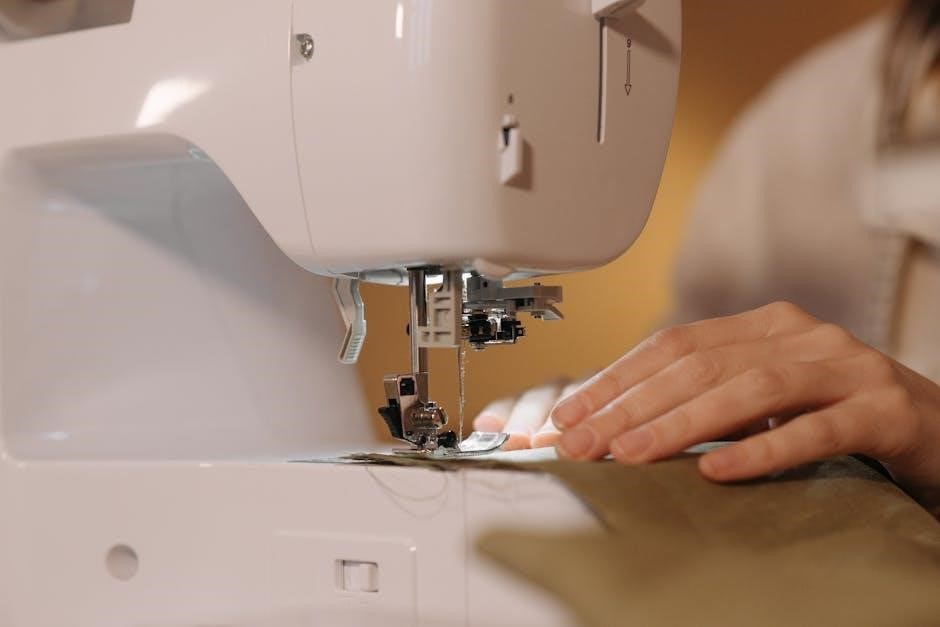
Begin by placing the fabric pieces with their wrong sides together‚ aligning the edges carefully. Pin the fabric to ensure it stays in place during sewing. Using a straight stitch‚ sew along the edge with a 3/8-inch seam allowance. This step is crucial as it prepares the fabric for the second seam‚ which will enclose the raw edges. Make sure to sew in a smooth‚ steady motion‚ keeping the fabric taut but not stretched. If using a walking foot or Teflon foot‚ it can help guide the fabric evenly. After sewing‚ do not backstitch at the beginning or end‚ as this could create bulk. Instead‚ tie the thread ends securely by hand or trim them neatly. This first seam sets the foundation for a professional-looking French seam‚ ensuring a clean and invisible finish.
Pressing the Seam Open
After sewing the first seam with wrong sides together‚ carefully press the seam open. Begin by finger-pressing the seam to flatten it without using heat. Then‚ place the fabric on your ironing board with the wrong side facing up. Using a low to medium heat setting with steam‚ gently press the seam open‚ ensuring the edges lie flat. For delicate fabrics‚ use a pressing cloth to prevent scorching. Avoid pressing too aggressively‚ as this could distort the fabric or create unwanted creases. Pressing the seam open is essential for creating a smooth foundation for the second seam and achieving a professional finish. This step ensures that the raw edges are properly prepared for enclosure‚ making the French seam nearly invisible and durable. Proper pressing is a critical step in mastering this technique‚ especially for sheer or lightweight fabrics.

Second Seam: Enclosing the Seam Allowance
Once the first seam is pressed open‚ fold the fabric so that the right sides are together‚ aligning the edges carefully. Sew a second seam along the same line‚ using a 3/8-inch seam allowance. This step encloses the raw edges of the fabric within the seam‚ creating a clean and professional finish; Ensure the fabric is properly aligned to avoid puckering or misalignment. Backstitch at the beginning and end of the seam for added durability. After sewing‚ the raw edges will be completely enclosed‚ making the seam nearly invisible from the outside. This step is crucial for achieving the signature French seam look‚ especially on delicate or sheer fabrics. By enclosing the seam allowance‚ you ensure a strong‚ neat‚ and professional result that withstands wear and tear. Proper alignment and consistent seam allowance are key to a successful second seam.
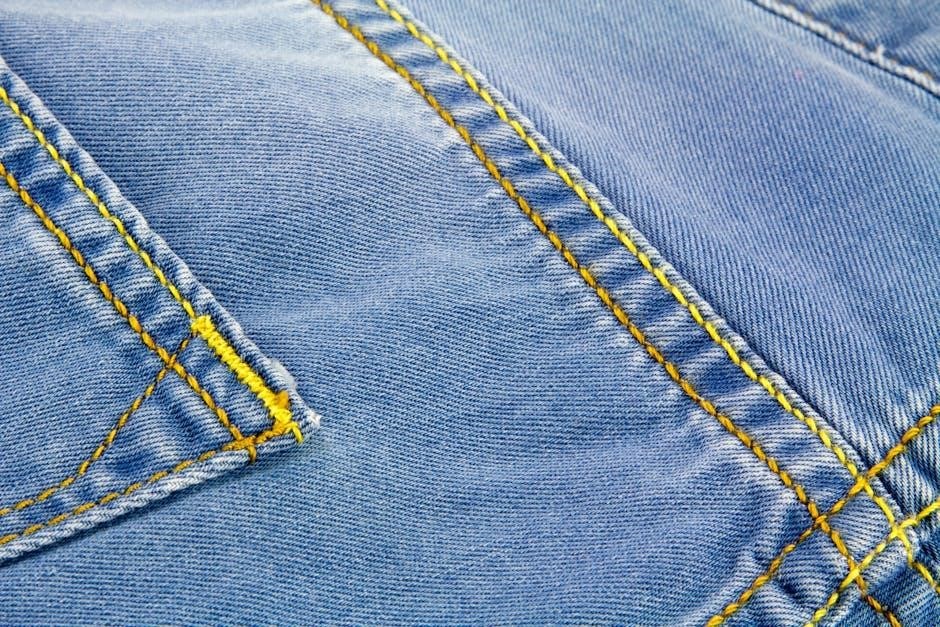
Topstitching for a Professional Finish
Topstitching is an optional yet impactful step that adds a decorative touch and reinforces the seam. To topstitch‚ thread your machine with a contrasting or matching thread color‚ depending on the desired aesthetic. Sew a straight line parallel to the French seam‚ maintaining a consistent distance from the edge. Use a longer stitch length for visibility and a professional appearance. This step is particularly effective on visible areas like armholes‚ hems‚ or straight edges. Topstitching not only enhances the garment’s polished look but also helps prevent the seam from fraying over time. For best results‚ ensure the stitching is straight and evenly spaced. This finishing touch elevates the French seam technique‚ making it ideal for garments that require both durability and a refined appearance.

Applications of French Seams

French seams are ideal for straight edges‚ curved seams‚ and armholes‚ making them perfect for delicate fabrics and professional finishes in garments and home decor projects.

Sewing French Seams on Straight Edges
Sewing French seams on straight edges is a straightforward process that ensures a professional finish. Begin by placing the fabric pieces with wrong sides together‚ aligning the edges carefully. Sew along the edge with a 3/8-inch seam allowance using a straight stitch. This step encloses the raw edges‚ preventing fraying. After sewing‚ press the seam open to create a crisp fold. For straight edges‚ maintaining consistent tension and alignment is key to achieving a smooth result. This method is particularly effective for delicate or sheer fabrics‚ as it eliminates visible raw edges. By following these steps‚ you can achieve a clean‚ professional-looking seam on straight edges‚ making it ideal for garments and home decor projects alike.
Mastering Curved French Seams
Mastering curved French seams requires precision and patience‚ as curved edges can be more challenging than straight ones. Start by pinning the fabric pieces with wrong sides together‚ ensuring the curves align perfectly. Sew along the edge with a 3/8-inch seam allowance‚ using a straight stitch. When navigating curves‚ gently guide the fabric to maintain smooth movement. After sewing‚ press the seam open to create a crisp fold. For tighter curves‚ consider using clips instead of pins to hold the fabric in place. Trimming excess fabric carefully is crucial to avoid bulk. Pressing the seam thoroughly ensures a professional finish. While curved French seams take more time‚ they provide a clean‚ invisible result‚ making them ideal for garments with rounded details or decorative elements. With practice‚ you can achieve flawless curved French seams that enhance your sewing projects.
Sewing French Seams on Armholes
Sewing French seams on armholes is a great way to achieve a professional‚ clean finish in garments. Armholes often require a smooth‚ durable seam due to their curved shape and frequent movement. To begin‚ pin the armhole pieces with wrong sides together‚ ensuring the curves align perfectly. Sew a 3/8-inch seam allowance‚ using a straight stitch‚ and press the seam open. For the second seam‚ fold the fabric along the pressed line and sew again to enclose the raw edges. Use clips instead of pins for better control on curved edges. Pressing thoroughly ensures a crisp‚ invisible seam. French seams on armholes are ideal for delicate fabrics like silk or chiffon‚ as they prevent fraying and add durability. This technique is especially useful for garments requiring a professional touch‚ such as dresses or blouses. With practice‚ sewing French seams on armholes becomes a seamless process.
Tips and Tricks for Perfect French Seams
- Use sharp needles to prevent fabric distortion.
- Trim excess fabric carefully for a clean finish.
- Press seams as you go for professional results.
Choosing the Right Fabric
When working with French seams‚ selecting the right fabric is crucial for a professional finish. Delicate fabrics like silk‚ chiffon‚ and voile are ideal‚ as they benefit from the clean‚ enclosed seam. Heavier fabrics‚ such as thick cotton or denim‚ may be too bulky for this technique. Sheer fabrics‚ in particular‚ showcase the invisible nature of French seams beautifully. Always test the fabric with a scrap piece to ensure it drapes well and doesn’t fray excessively. Lightweight to medium-weight fabrics are recommended‚ as they allow for smooth stitching and pressing. Avoid fabrics with too much stretch‚ as they may pucker during sewing. By choosing the right fabric‚ you ensure your French seams lie flat and look polished. This step is essential for achieving the desired professional result in your sewing projects.
Using the Correct Needle Size
Using the correct needle size is essential for achieving professional-looking French seams. A smaller needle‚ such as a sharp or universal needle‚ is ideal for lightweight fabrics like silk‚ chiffon‚ or voile. These needles glide smoothly through delicate materials without causing damage or puckering. For slightly heavier fabrics‚ a medium-sized needle works well‚ ensuring strong stitches without breaking the fabric. A larger needle may leave visible holes or weaken the seam‚ especially on sheer fabrics. Always choose a needle that matches your fabric type to maintain precision and prevent unnecessary stress on the material. This attention to detail ensures your French seams are neat‚ durable‚ and virtually invisible. Proper needle selection is a simple yet critical step in mastering this technique for a polished finish.
Trimming Excess Fabric
Trimming excess fabric is a crucial step in creating a clean and professional French seam. After sewing the second seam‚ carefully trim the seam allowance to about 1/8 inch‚ ensuring not to cut too close to the stitches‚ as this could weaken the seam. Use sharp scissors or rotary cutters for precise trimming‚ especially on curved edges or delicate fabrics. For sheer fabrics‚ trim carefully to avoid distorting the material. Trimming excess fabric prevents bulkiness and ensures the seam lies flat‚ giving a polished finish. This step is particularly important for garments that require a smooth‚ invisible seam‚ such as lingerie or silk blouses. Proper trimming enhances the durability and appearance of the seam‚ making it nearly undetectable from the outside. Always trim slowly and evenly to maintain the integrity of the fabric and the seam.
Common Mistakes to Avoid
Incorrect fabric alignment‚ uneven tension‚ and insufficient pressing are common errors that can ruin a French seam. Avoid these pitfalls to ensure a professional‚ durable finish.
Incorrect Alignment of Fabric
One of the most common mistakes when sewing French seams is misaligning the fabric edges. This can lead to uneven seams and weak points in the garment. Proper alignment is crucial‚ as French seams rely on precise folding and stitching to enclose raw edges. To avoid this‚ always pin the fabric carefully before sewing‚ ensuring the edges match perfectly. Sewing too quickly or without guidance can cause the fabric to shift‚ disrupting the alignment. For curved seams or armholes‚ use plenty of pins and sew slowly to maintain accuracy. Additionally‚ marking the fabric with chalk or a ruler can help guide your stitching. Taking the time to align the fabric correctly will ensure a professional finish and prevent the need for costly repairs or resewing. Remember‚ precision is key to mastering French seams.
Improper Tension While Sewing
Improper tension while sewing is a common issue that can ruin the appearance of French seams. If the fabric is pulled too tightly or too loosely during stitching‚ it can cause puckering or distortion‚ especially on delicate fabrics like silk or chiffon. This can lead to an uneven seam and a less professional finish. To avoid this‚ maintain consistent tension by guiding the fabric smoothly under the presser foot without pulling or tugging. Using a walking foot or Teflon foot on your sewing machine can help manage fabric movement and maintain even tension. Additionally‚ ensure your machine’s tension settings are balanced‚ as incorrect upper or lower thread tension can exacerbate the problem. By keeping the fabric relaxed but steady‚ you can achieve a smooth‚ flat seam that lies perfectly. Proper tension control is essential for mastering French seams and ensuring a polished result.
Not Pressing the Seam Properly
Not pressing the seam properly is a common mistake that can compromise the quality of a French seam. Pressing is essential to flatten the seam allowance and create a smooth‚ professional finish. If the seam is not pressed correctly‚ it may leave visible ridges or a bulky appearance‚ especially on delicate fabrics. To press effectively‚ use steam and a hot iron to flatten the seam immediately after sewing. Press the seam open before sewing the second side‚ ensuring the fabric lies flat. For curved seams‚ use a seam roll or tailor’s ham to maintain the shape while pressing. Proper pressing ensures the seam is nearly invisible and gives the garment a polished look. Neglecting this step can make the seam noticeable‚ undermining the purpose of a French seam. Always press thoroughly to achieve a clean‚ professional result.
Mastering French seams enhances your sewing skills‚ providing a professional finish. This technique is versatile‚ suitable for various fabrics and projects‚ ensuring strong‚ clean‚ and invisible seams every time.
A French seam is a professional sewing technique that encloses raw edges‚ creating a clean‚ invisible finish. Ideal for delicate fabrics like silk and chiffon‚ it prevents fraying and adds durability. The process involves two steps: sewing with wrong sides together and then enclosing the seam allowance. Proper tools‚ such as a sewing machine and sharp needles‚ are essential. Pressing the seam after each step ensures a crisp‚ professional result. French seams are versatile‚ suitable for straight edges‚ curves‚ and armholes‚ making them perfect for garments‚ home decor‚ and accessories. By mastering this technique‚ sewists can achieve high-quality‚ long-lasting projects with a polished appearance. Regular practice and attention to detail will refine your skills‚ ensuring flawless French seams every time.
Final Thoughts on Mastering French Seams
Mastering French seams is a valuable skill for any sewist‚ offering a professional‚ clean finish that enhances both the appearance and durability of garments. While the technique requires patience and practice‚ the results are well worth the effort. French seams are particularly ideal for delicate fabrics‚ ensuring they withstand wear and tear without fraying. By following the step-by-step process and paying attention to details like proper pressing and fabric alignment‚ you can achieve flawless seams. Remember‚ practice makes perfect‚ so don’t hesitate to experiment with different fabrics and projects. With time‚ French seams will become a go-to technique in your sewing arsenal‚ elevating your creations to a new level of sophistication and quality.
Additional Resources
Explore detailed tutorials‚ videos‚ and tips online to deepen your understanding of French seams‚ ensuring you master this technique for professional-looking garments and home projects.
Recommended Tutorials and Videos
For a comprehensive understanding‚ watch step-by-step video tutorials that demonstrate French seam techniques on various fabrics and projects. These resources often include tips for straight edges‚ curves‚ and armholes‚ ensuring you can apply the method confidently. Many tutorials also cover troubleshooting common mistakes‚ such as improper alignment or tension issues. Additionally‚ illustrated guides and sewing blogs provide detailed photos and written instructions to complement video content. Platforms like YouTube and sewing websites offer a wealth of information‚ from basic to advanced levels. Whether you’re making garments or home decor‚ these resources will help you achieve professional results. Practice with scrap fabric‚ as suggested in many tutorials‚ to refine your skills before working on final projects.
Further Reading on Sewing Techniques
Expand your sewing knowledge by exploring books‚ blogs‚ and online courses dedicated to advanced sewing techniques. Websites like Craftsy and sewing blogs offer in-depth guides on mastering French seams‚ along with other professional finishes. Books such as The Complete Book of Sewing Techniques provide detailed instructions and photos for various methods. Online forums and sewing communities share tips and tricks for troubleshooting common issues. Additionally‚ platforms like Pinterest and Instagram feature tutorials and inspiration for applying French seams to garments and home decor. These resources are perfect for sewists looking to refine their skills and explore new projects. By diving into these materials‚ you can gain a deeper understanding of sewing techniques and enhance your creativity in the craft.